
Raised Bed vs. In-Ground Gardening: Pros, Cons, and Setup Guides
A Comprehensive Comparison for Home Gardeners
Published 7/20/2026
Choosing between raised bed and in-ground gardening depends on your soil quality, space, budget, physical needs, and gardening goals. Both methods can produce abundant vegetables, herbs, and flowers, but they differ significantly in setup, maintenance, and performance.
Introduction
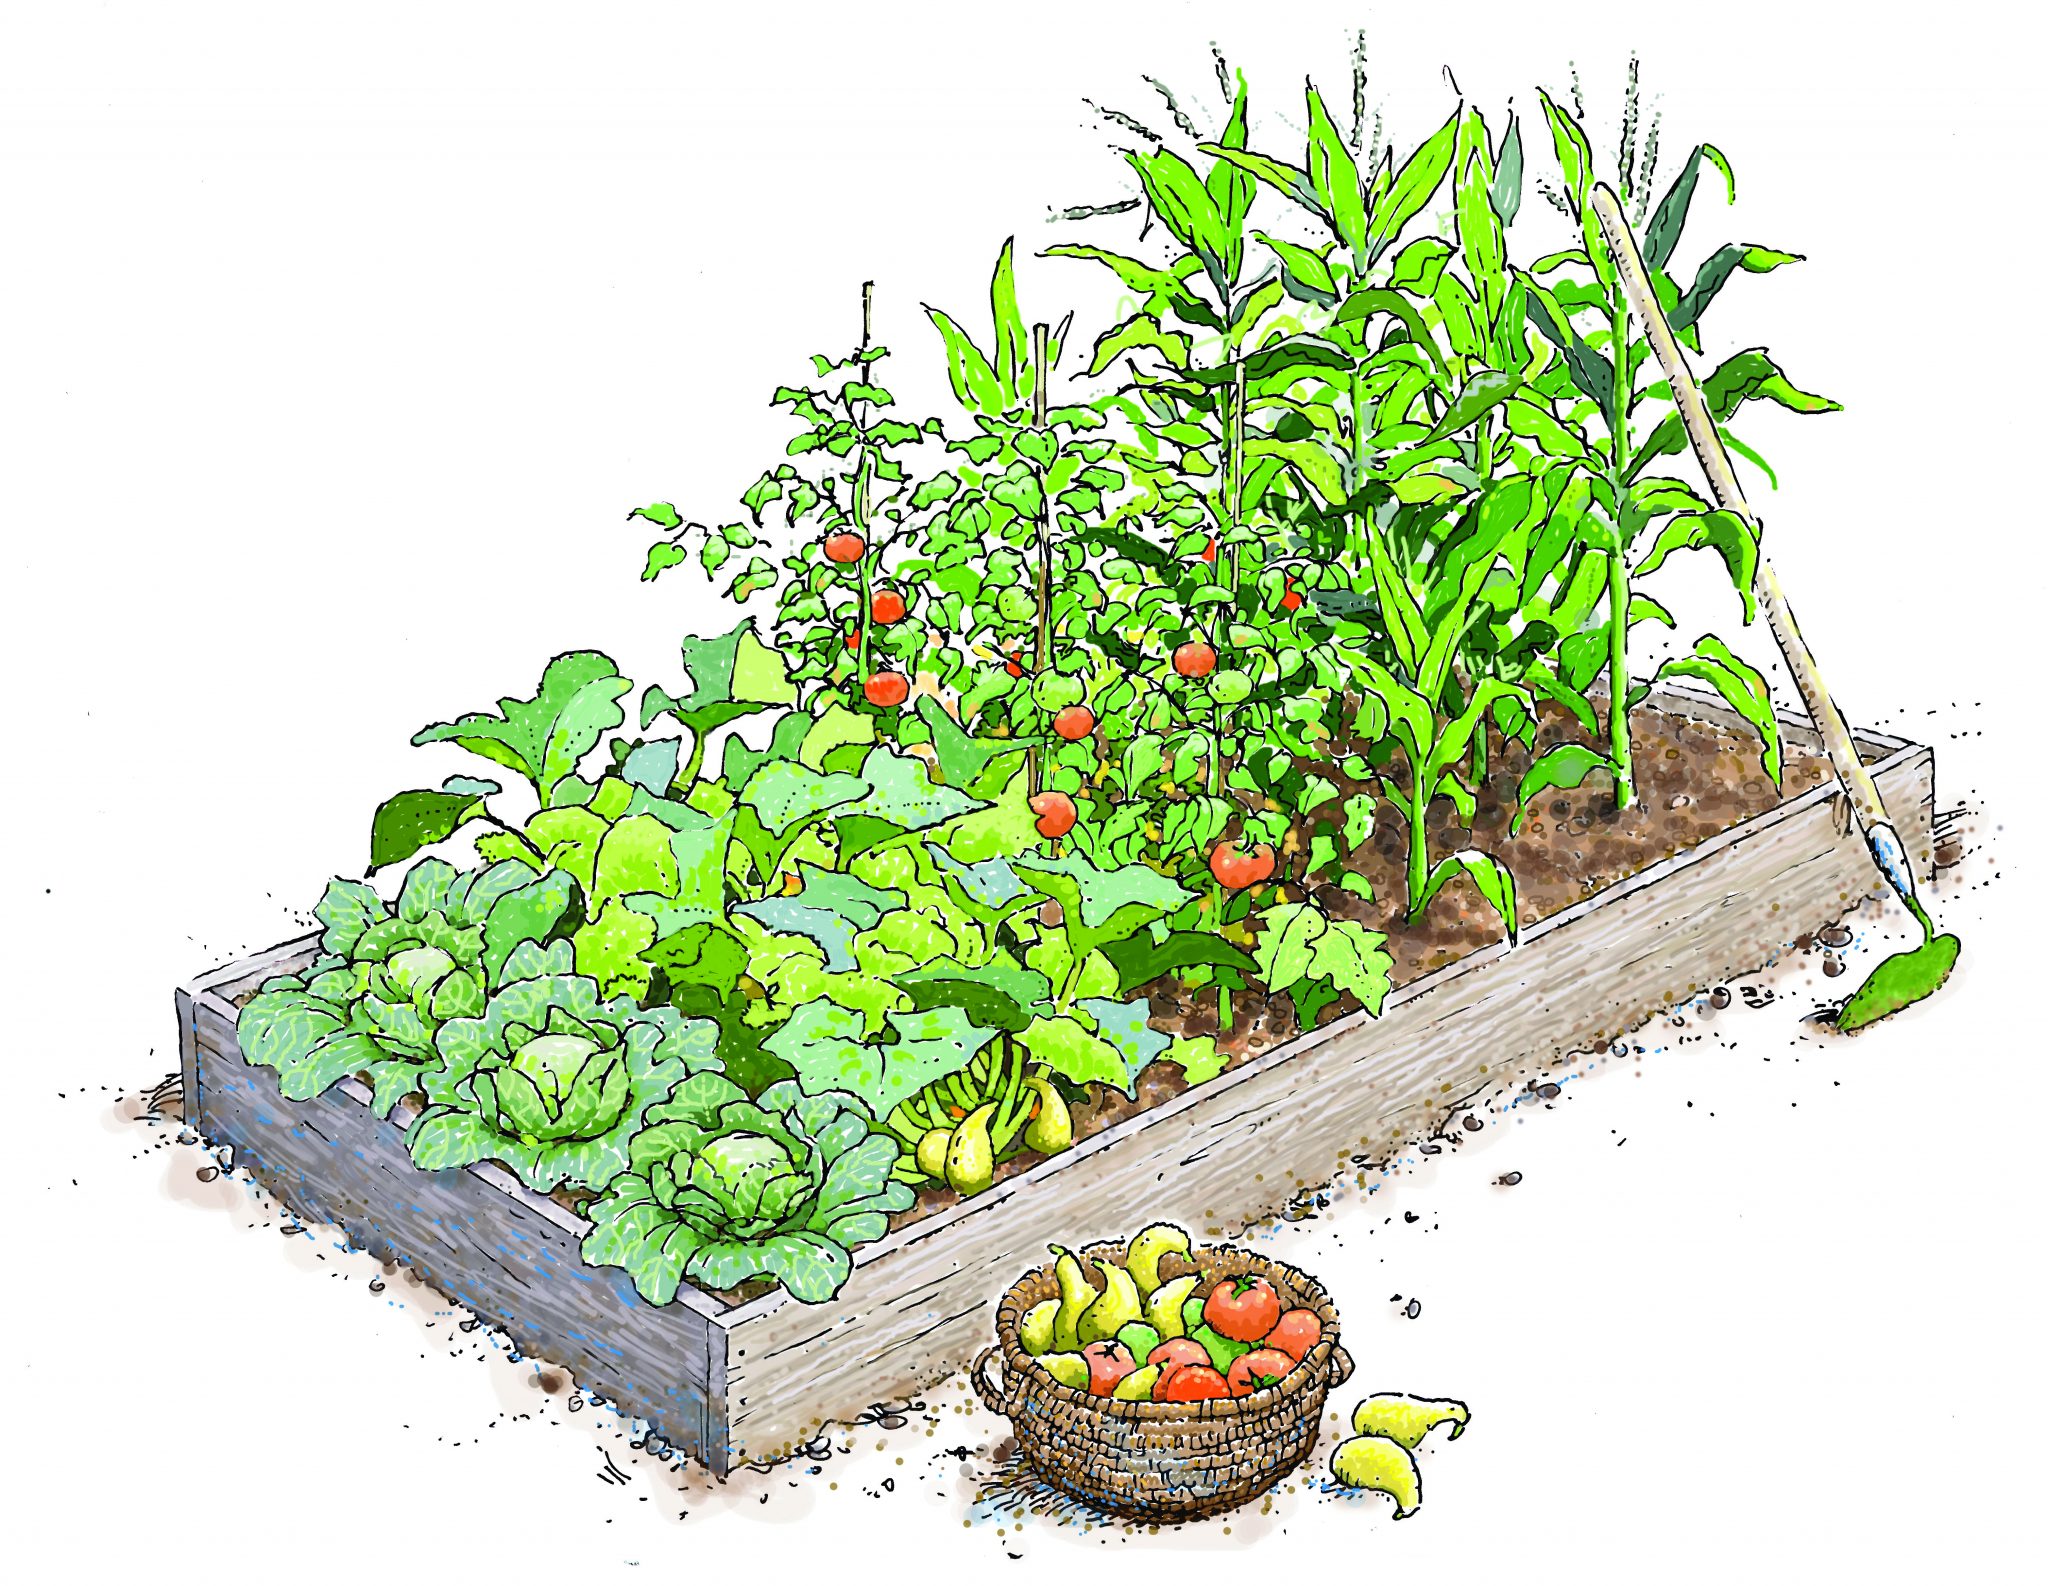
Raised beds are contained structures filled with custom soil mix, elevated above ground level. In-ground (or flat/row) gardening involves planting directly into native soil, often amended in place.
Raised beds have surged in popularity for their accessibility and control, especially in urban or challenging sites. In-ground remains a staple for large-scale or budget-conscious gardeners with good native soil.
Pros and Cons of Raised Bed Gardening
Pros
- Superior soil control: Fill with an ideal mix (e.g., compost, topsoil, coir) regardless of native soil quality.
- Better drainage and fewer weeds: Elevated design prevents waterlogging and reduces weed pressure from surrounding areas.
- Warmer soil and extended season: Beds warm faster in spring, allowing earlier planting; easier to protect with covers.
- Ergonomic benefits: Less bending and kneeling; ideal for mobility issues or seniors.
- Higher initial yields: Quality soil often leads to 1.3–2x more produce per square foot in early years.
- Pest and compaction protection: Barriers deter some pests; no foot traffic compacts soil.
- Aesthetic and organized: Neat appearance, great for small spaces like patios.
Cons
- Higher upfront cost: Materials + soil fill can be expensive (e.g., $150–$350+ per 4x8 bed).
- Dries out faster: Requires more frequent watering, especially in heat.
- Limited root depth and space: Not ideal for large vining crops (pumpkins, squash) or deep-rooted plants.
- Maintenance over time: Soil may need topping up annually; wood frames rot eventually.
- Less scalable: Harder for very large gardens or heavy equipment use.
Pros and Cons of In-Ground Gardening
Pros
- Lower cost: Minimal materials; uses existing soil with amendments.
- Better moisture retention: Roots access deeper ground moisture, reducing watering needs.
- Unlimited space and rooting: Perfect for large crops, sprawling vines, and expansion.
- Natural soil ecosystem: Supports beneficial microbes and deeper root networks over time.
- Flexible and movable: Easier to change layout or relocate.
- Lower long-term water use: Soil stays consistently moist longer.
Cons
- Soil quality dependency: Poor, compacted, or contaminated native soil requires heavy amendment.
- More weeds and pests: Higher weed seed bank and easier access for ground pests.
- Physical demands: More bending, kneeling, and tilling; soil can compact from foot traffic.
- Slower spring start: Soil warms more slowly; drainage issues in heavy clay.
- Higher maintenance initially: Frequent weeding and soil improvement needed.
Key Comparison Table
| Factor | Raised Beds | In-Ground Beds |
|---|---|---|
| Upfront Cost | Higher ($150–$400+/bed) | Lower ($30–$120 for amendments) |
| Soil Control | Excellent (custom mix) | Limited (amend native soil) |
| Drainage | Excellent | Depends on native soil |
| Watering | More frequent | Less frequent |
| Weeding | Low | Higher initially |
| Ergonomics | Easier on back/knees | More physical labor |
| Best For | Poor soil, small spaces, accessibility | Good soil, large areas, budget |
| Yield (Early) | Often higher | Improves with amendments |
Setup Guide: Raised Beds
Materials (for a basic 4x8x12" bed)
- Untreated cedar, redwood, or pressure-treated lumber (rot-resistant).
- 3" exterior screws.
- Landscape fabric or hardware cloth (optional for base).
- Soil mix: ~60% topsoil, 30% compost, 10% aeration (coir/perlite).
Step-by-Step
- Choose location: Level ground, 6–8+ hours sun, good drainage, near water source.
- Prepare base: Remove grass/weeds. Lay cardboard or fabric to suppress weeds.
- Build frame: Cut boards to size. Assemble rectangle with screws. Level it.
- Add base protection (optional): Hardware cloth for gophers; fill with soil.
- Fill with soil: Calculate volume (Length × Width × Depth). Mix thoroughly.
- Mulch and plant: Add 2–3" mulch. Let settle 1–2 weeks before planting.
Tip: Aim for 12–18" depth. Wider than 4 ft makes reaching difficult.
Setup Guide: In-Ground Beds
Preparation Steps
- Site selection: Same as raised beds—sun, space, access.
- Test soil: Check pH (ideal 6.0–7.0) and nutrients via kit or extension service.
- Clear area: Remove sod/weeds (sheet mulching with cardboard works well).
- Loosen soil: Double-dig or till to 12–18". Remove rocks/roots.
- Amend: Add 2–4" compost, organic matter. Mix in thoroughly.
- Shape beds: Form rows or mounds (e.g., 4 ft wide with paths). Rake smooth.
- Mulch: 2–4" layer to retain moisture and suppress weeds.
Tip: For new beds, consider no-dig methods (lasagna layering) for less labor.
Additional Tips
- Hybrid approach: Use raised beds near the house for herbs/greens and in-ground for large crops.
- Water management: Drip irrigation helps both; raised beds benefit from mulch.
- Longevity: Rotate crops, add compost yearly, and monitor soil health.
- Common crops: Raised—leafy greens, tomatoes, root veggies. In-ground—squash, corn, potatoes.
Conclusion
Neither method is universally superior. Choose raised beds if you have poor soil, limited space, mobility needs, or want quick results. Opt for in-ground if you have decent soil, ample space, and want to minimize costs for larger production. Many gardeners successfully combine both.